Installing ATHENA 2018 on a single-station computer
1. Insert the ATHENA 2018 CD-ROM into the CD-ROM drive on your computer. The installation process starts automatically. If you have deactivated the autorun function, you must start the installation routine manually. To do this, click Run in the Start menu. Enter the drive letter for the CD-ROM drive and then ath_installer.exe (e.g. d:\ath_installer.exe).
Select setup language
2. Select the language of the installation routine and click the button OK >.
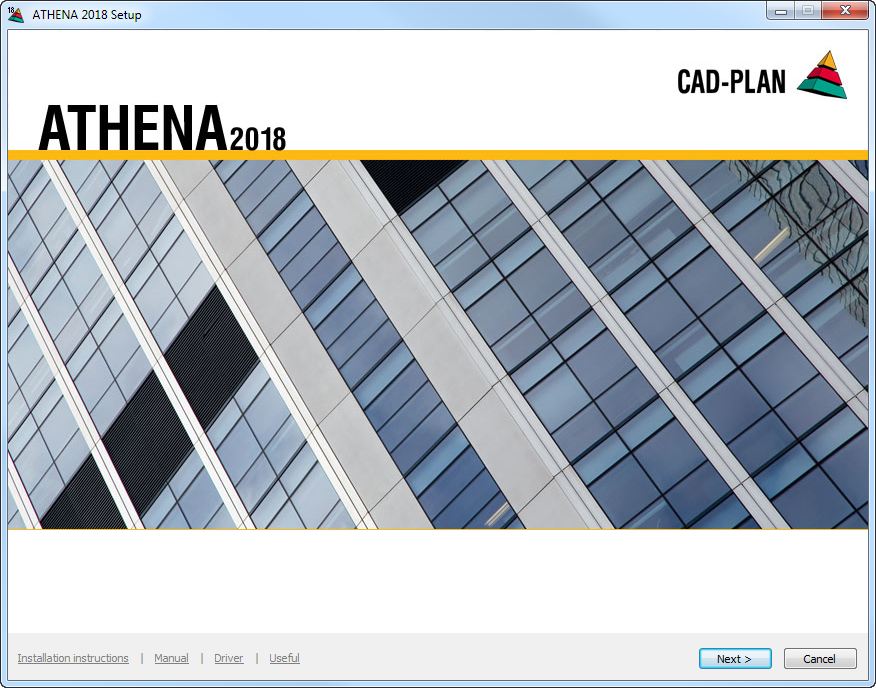
Welcome screen
db_ath_setup_welcome
On the welcome screen you have access to information, drivers and to the actual ATHENA installation routine.
Installation information Opens the help file with information about the installation.
Manual Opens the help file with the command reference.
Drivers Opens an Explorer window with the folder containing drivers and diagnostic programs for the hardware protection plug.
Useful information Opens an Explorer window with the Sample folder. Here you will find example drawings, plotting styles, script files and other useful items.
3. Press Next > to start the program installation.
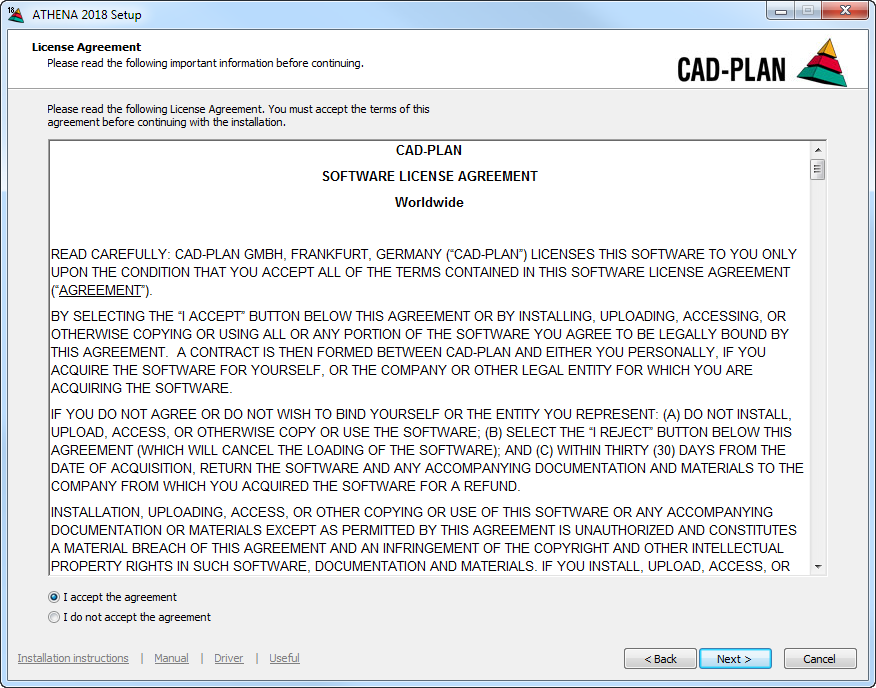
License agreement
db_ath_setup_license
4. Carefully read the software license agreement. To continue the installation you must accept the license agreement. For this, activate the option I accept the agreement and click the button Next >.
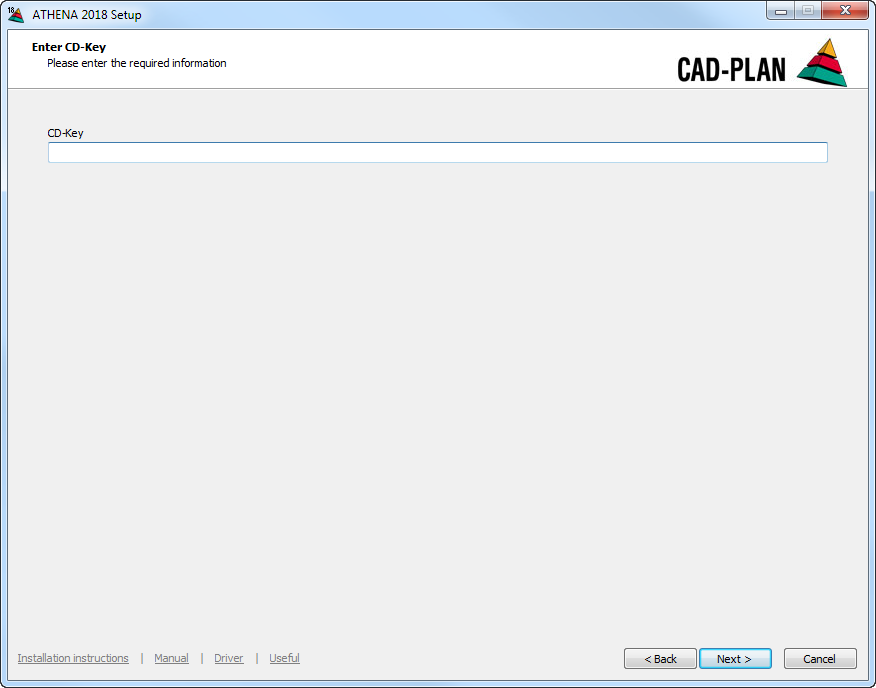
Enter CD key
db_ath_setup_cd-key
5. Enter the CD key in the input line and click the button Next >.
You will find the CD key in the software packaging.
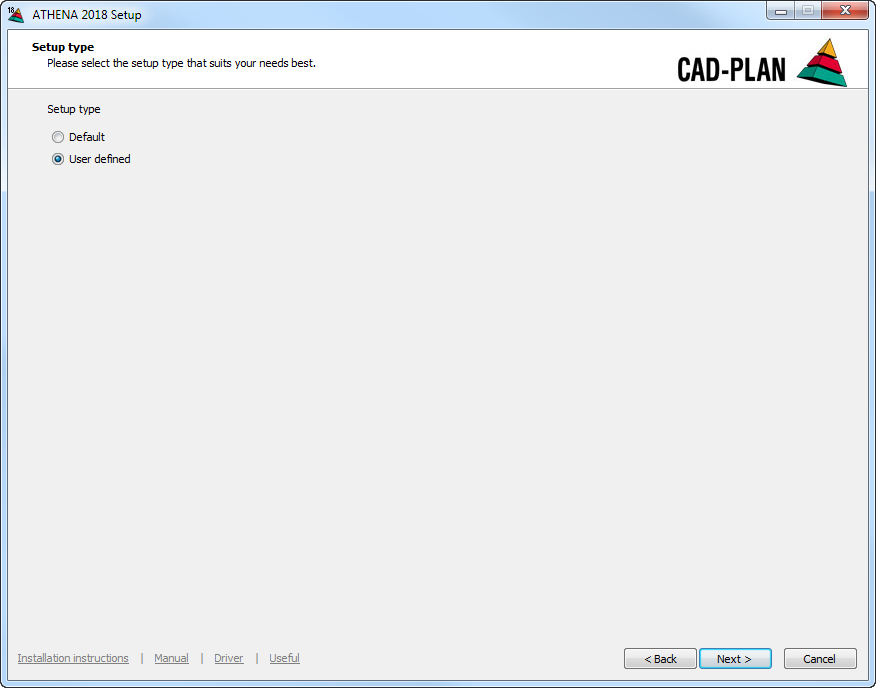
Setup type
db_ath_setup_typ
6. Decide on a setup type and click the button Next >. If you select Standard, you can only specify the most important installation paths. If you want to specify all the paths, you should carry out a user-defined installation.
The user-defined installation variant is particularly recommended for advanced users. In the following steps only the user-defined installation is described.
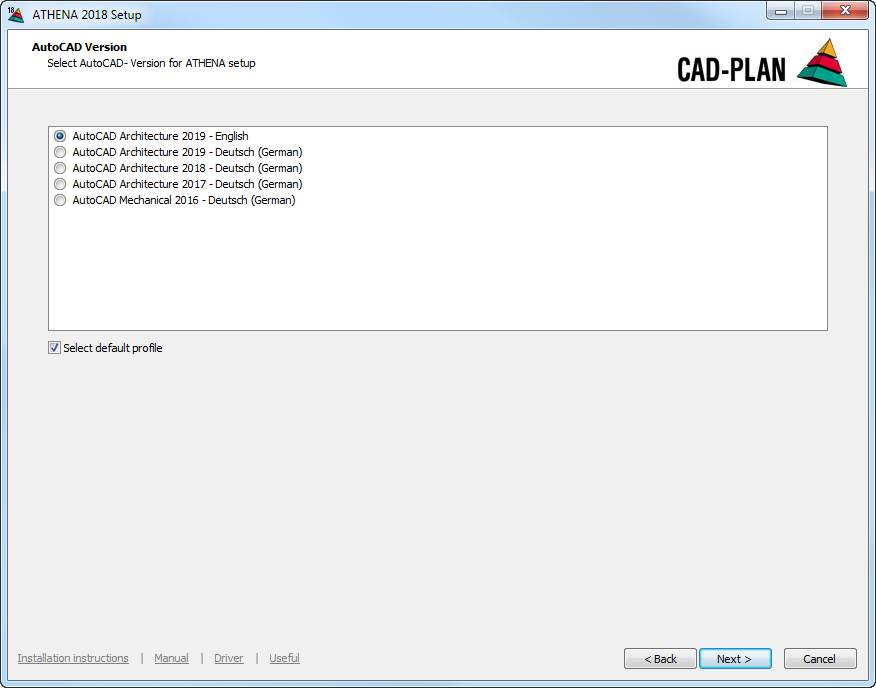
AutoCAD version
db_ath_setup_acadver
7. Here, the AutoCAD versions installed on the computer are displayed. Select the AutoCAD version from the list for which ATHENA 2018 is to be installed and click the button Next >.
To install ATHENA 2018 for a number of AutoCAD versions, the setup routine must be repeated appropriately. For the following installations use the option Only configure (refer also to Section Create ATHENA profile).
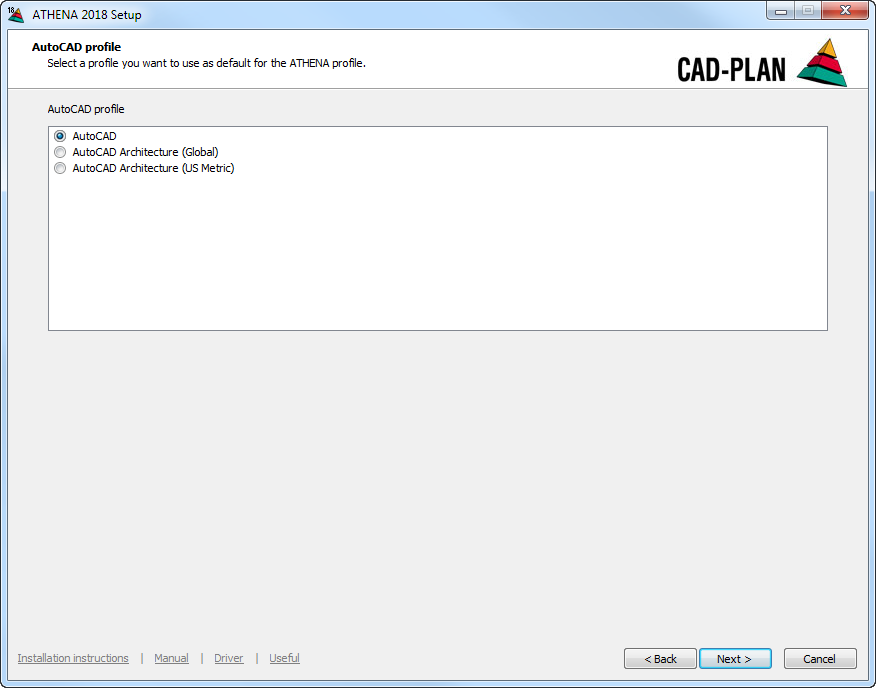
AutoCAD profile
db_ath_setup_profil
8. Here, the existing AutoCAD profiles are displayed. Select a profile from the list to use it as a template for the ATHENA 2018 profile and click the button Next >.
It is recommended that the AutoCAD profile is used.
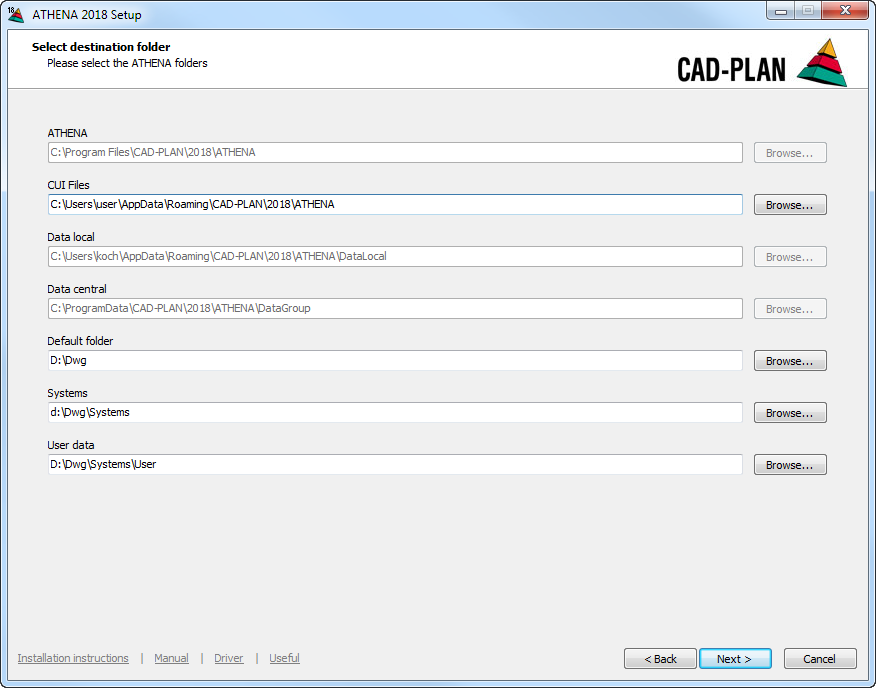
Select the ATHENA folder
db_ath_setup_ath-ordner
9. Specify here the destination folders for ATHENA 2018. Click the Browse button to specify new destination folders. In the dialog box Select folders there are all the folders linked to your computer. Alternatively, you can also write the destination folders directly into the appropriate input fields. Click the button Next > to proceed with the installation.
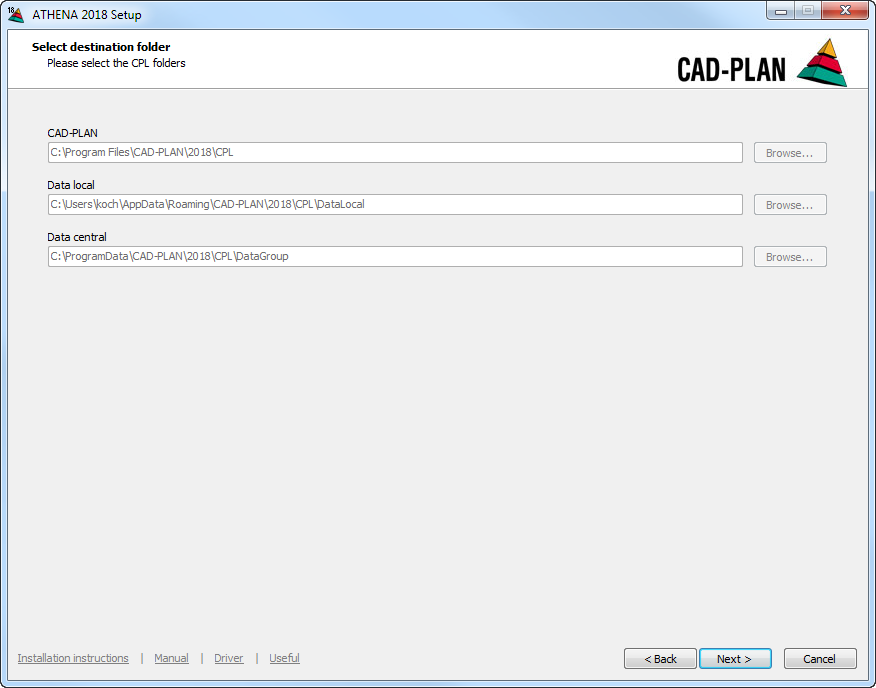
Select CAD-PLAN folder
db_ath_setup_cpl-ordner
10. Specify here the destination folders for the CAD-PLAN program modules. Click the button Next > to proceed with the installation.
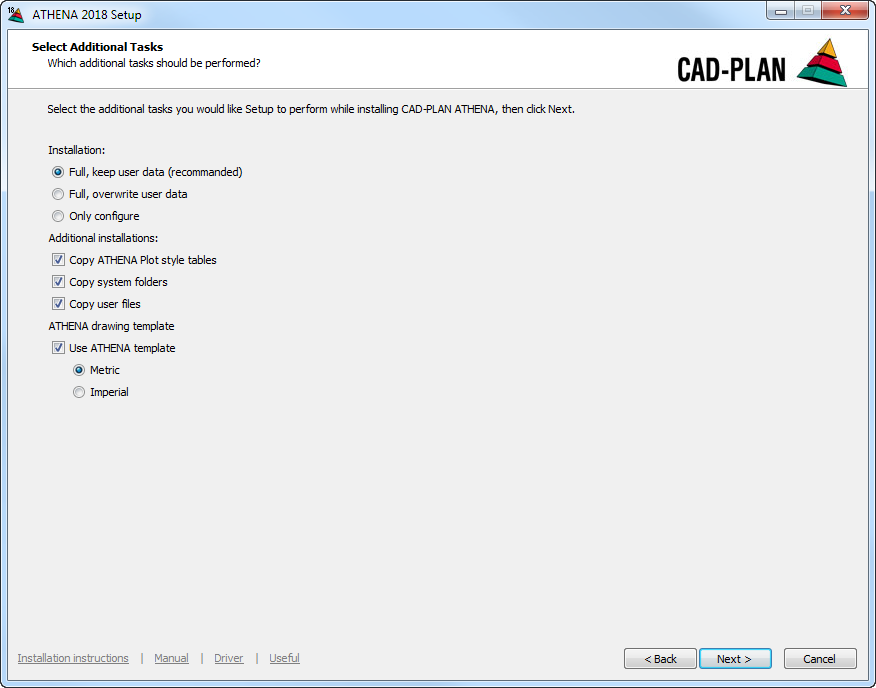
Additional details
db_ath_setup_template
11. Select the type of installation. Both options of the full installation lead to the same result for a new installation. You can decide whether user files are to be updated or not only with a repair installation. The option Only configure is only available when ATHENA is installed on the computer. You will find further hints on this in the section Create ATHENA profile. Activate the tick box Copy ATHENA plot style tables if you want to use plot style tables which have been matched to the ATHENA layer. They are automatically copied from the setup into the AutoCAD plot styles folder. Activate the tick box Copy system folders to copy the folders and content of the profile system provider. Activate the tick box Copy user files to copy the folders and content of the user folder. Here, you select whether you want to use a template and, where applicable, change its units. Click the button Next > to proceed with the installation.
12. In the last dialog box the setup shows the current settings. Check these settings again and click Install to start the installation. The installation starts and the progress of the installation is indicated.
13. A final dialog box appears after the installation. Here, click the button Finish to conclude the installation.
14. Plug the hardware protection (dongle) into a USB interface on your computer. The installation is now concluded.